This Do It Yourself (DIY) String Project — a 3-D wall art piece made from string, nails and a piece of wood — is a great way to brighten up and add dimension to any dorm room. The versatile format allows for variety in colors, size and shape, permitting the adventurous person to tweak his or her project until it is just right for him or her. The possibilities are practically endless.
Do not be scared away by the term “DIY.” I am very much an amateur DIYer, and this project was both easy and fun. The simple nature of the project makes it perfect for anyone who is just starting out in the DIY world. It is also cheap and a super quick project. In total, one should spend a maximum of $35 and three hours on this project (depending on the quality of your supplies and whether or not you are a perfectionist).
Step one: Gather Materials
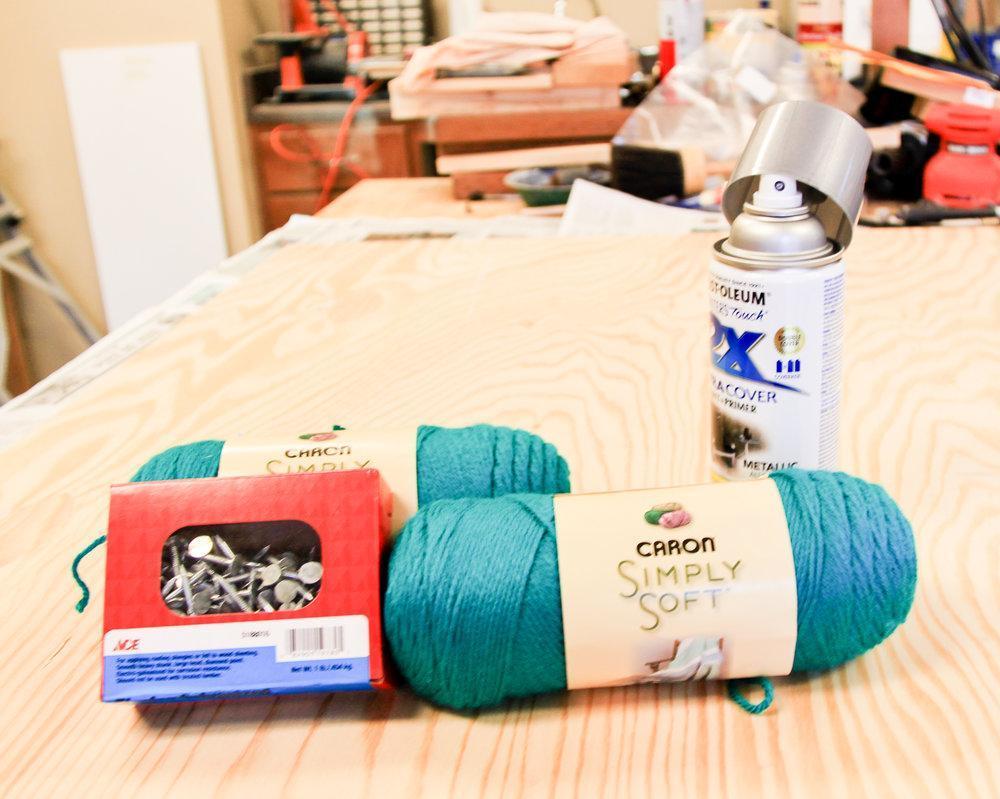
This project has pretty minimal supplies requirements. You will need:
- A piece of wood
- String of your color choice – Use any type of string from yarn to thin rope.
- Nails – The bigger the head of the nail, the better. Small nail heads will not hold the string underneath them well enough. Roofing nails work well. For my project, I used about 100 nails.
- Spray paint color of your choice
- White butcher paper
Step two: Spray Paint

Make sure to do this in a well-ventilated area. Protect your work surface with old newspapers or a tarp. Spray paint someplace where it will not matter if you get paint on anything (not in your dorm room). Outside is the best option.
Spray the front and sides of the board evenly. It works best if you hold the spray can about 1-2 feet away from the board and spray slowly in straight, parallel lines. It is also a good idea to spray a second coat once the first coat dries.
Step Three: Draw
Once your paint has dried, secure the butcher paper to the board (best done by simply folding the edges underneath the wood), and draw your shape.
For my project, I used a heart, but you can use just about any simple shape, and probably some more complicated shapes as well, if you have the time and talent to execute them.
Step Four: Hammer Away

Get out a hammer and start putting nails in the wood along your outline. About 1 inch between each nail is the optimal distance. That will give you plenty of nails to bounce between when you start winding.
Make sure you do not hammer any nails too close to the edge of the wood. This will cause the wood to split, which is a very difficult fix for a project like this.
Once you have all your nails in, rip the white paper out from under them.
Step Five: Wrap String
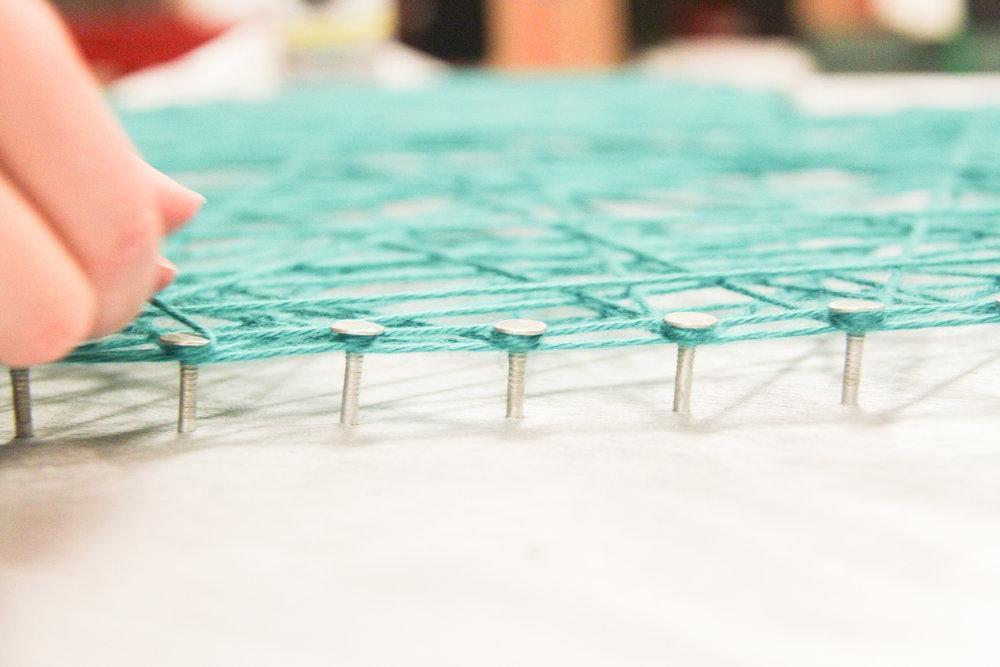
Now for the most entertaining part: Grab your string, tie one end to a nail head (For the heart shape, it is best to tie it to the bottom), and start winding.
There is no perfect way to do this; it is up to you and what you think is cool. Make sure you try to wrap the string around every nail at least once, otherwise it will look like you have holes in your shape.
Keep going until you like the outcome. I also wound the string around the outside of the shape a couple times, to give it more definition and dimension.
When you are done, secure the string with another knot and trim.
Step Six: Hang Your Art
Voila! You have your finished product. Hang it on the wall in your dorm room or apartment to add a touch of homemade decor.
Photographer|Michelle Molina
Contact Alanna Carlson at [email protected]